




Introduction
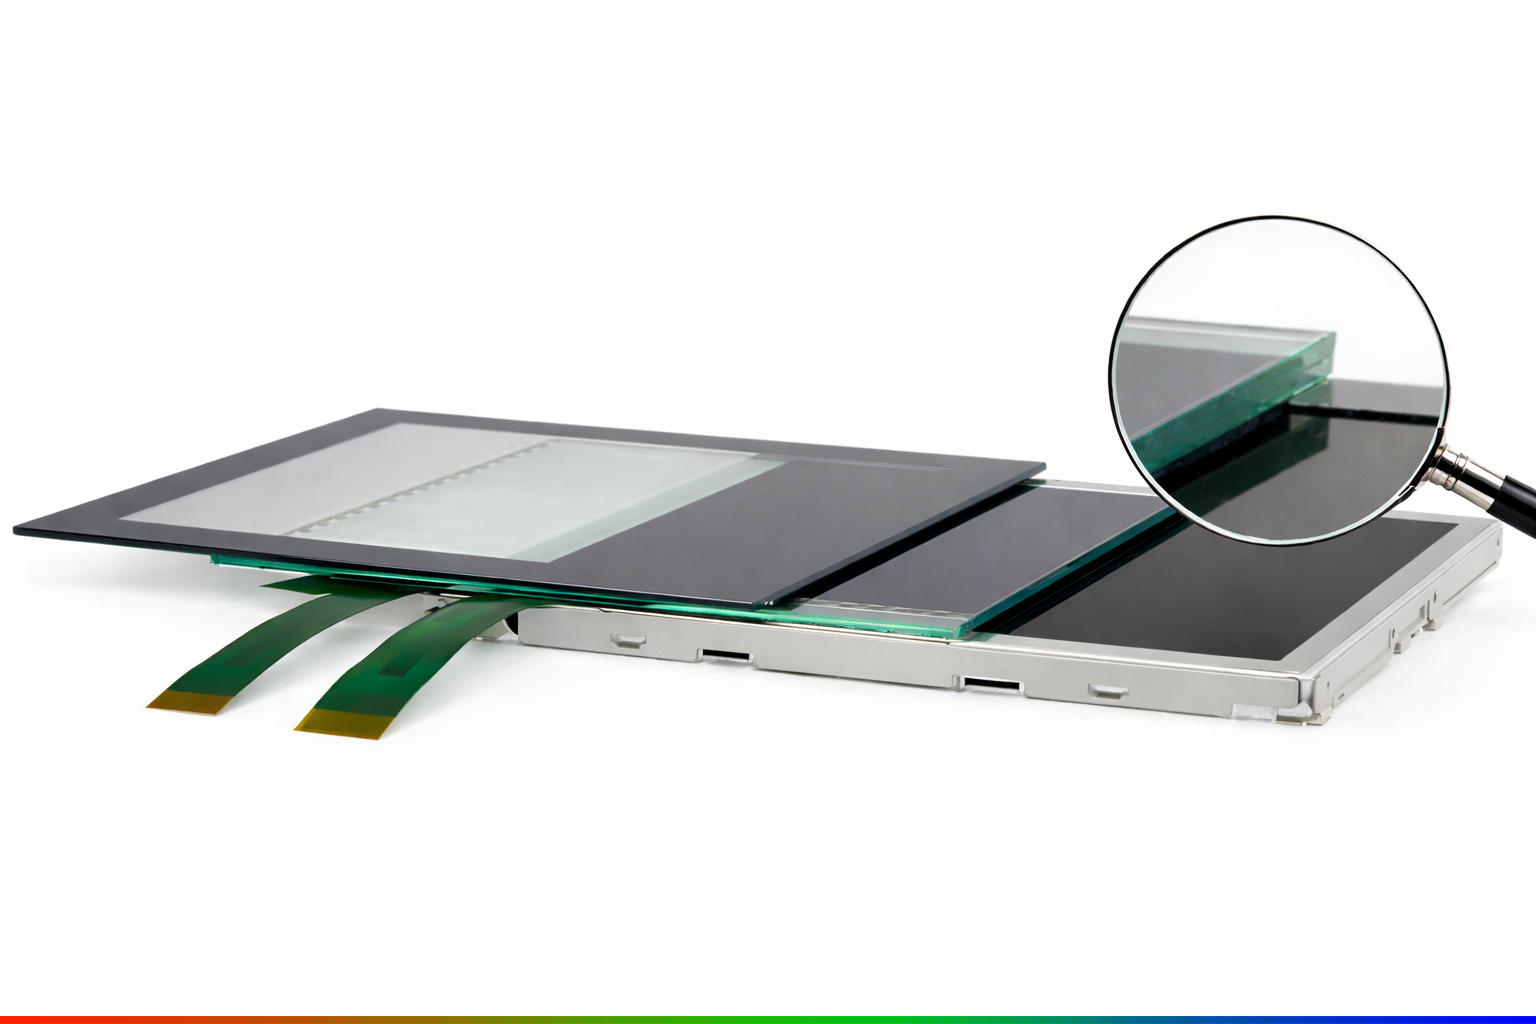
This whitepaper is aimed at customers who want to integrate a fully assembled display module into their end device. The goal is to avoid common errors during final assembly and to provide guidance on how to achieve a reliable and durable installation.
Typical Problems and Causes
- Loss of Adhesion After Assembly
- Unsuitable adhesives or mounting methods
- Incompatibility between display adhesive and housing material (e.g. PMMA, ABS, aluminum)
- Mechanical issues (e.g. Mura)
- Stress on the display caused by incorrect screw or adhesive positions
- Stress due to ignoring thermal expansion
- Damage
- Dust or moisture ingress due to open or uncontrolled assembly environments
Solutions and Recommendations
- Loss of Adhesion After Assembly
- Use suitable adhesive tapes (e.g. 3M VHB for smooth plastics or metals; LSE adhesive tapes for difficult plastics such as polypropylene)
- Apply even pressure during bonding (do not press only in the centre of the display)
- Clean bonding surfaces before installation with a suitable cleaning agent (e.g. IPA, isopropanol)
- Mechanical issues (e.g. Mura)
- Limit assembly forces: avoid excessive pressure on the panel or edges
- Consider thermal tolerances: do not create rigid connections, allow for movement
- Use adhesive tapes with an elastic core
- Plan spacers or damping elements to decouple housing stress
- Damage (e.g. ESD)
- Control the assembly environment: low contamination, clean work surfaces
- Environment: humidity 40–60%, use ionizers if required
Conclusion
Integrating a finished display requires precision, suitable materials, and an understanding of mechanical and thermal influences. By following the recommendations outlined in this whitepaper, some basic assembly errors can be avoided and the long-term reliability of the display ensured.
Introduction
This whitepaper is aimed at customers who want to integrate a fully assembled display module into their end device. The goal is to avoid common errors during final assembly and to provide guidance on how to achieve a reliable and durable installation.
Typical Problems and Causes
- Loss of Adhesion After Assembly
- Unsuitable adhesives or mounting methods
- Incompatibility between display adhesive and housing material (e.g. PMMA, ABS, aluminum)
- Mechanical issues (e.g. Mura)
- Stress on the display caused by incorrect screw or adhesive positions
- Stress due to ignoring thermal expansion
- Damage
- Dust or moisture ingress due to open or uncontrolled assembly environments
Solutions and Recommendations
- Loss of Adhesion After Assembly
- Use suitable adhesive tapes (e.g. 3M VHB for smooth plastics or metals; LSE adhesive tapes for difficult plastics such as polypropylene)
- Apply even pressure during bonding (do not press only in the centre of the display)
- Clean bonding surfaces before installation with a suitable cleaning agent (e.g. IPA, isopropanol)
- Mechanical issues (e.g. Mura)
- Limit assembly forces: avoid excessive pressure on the panel or edges
- Consider thermal tolerances: do not create rigid connections, allow for movement
- Use adhesive tapes with an elastic core
- Plan spacers or damping elements to decouple housing stress
- Damage (e.g. ESD)
- Control the assembly environment: low contamination, clean work surfaces
- Environment: humidity 40–60%, use ionizers if required
Conclusion
Integrating a finished display requires precision, suitable materials, and an understanding of mechanical and thermal influences. By following the recommendations outlined in this whitepaper, some basic assembly errors can be avoided and the long-term reliability of the display ensured.